1.Login into Wati Account.

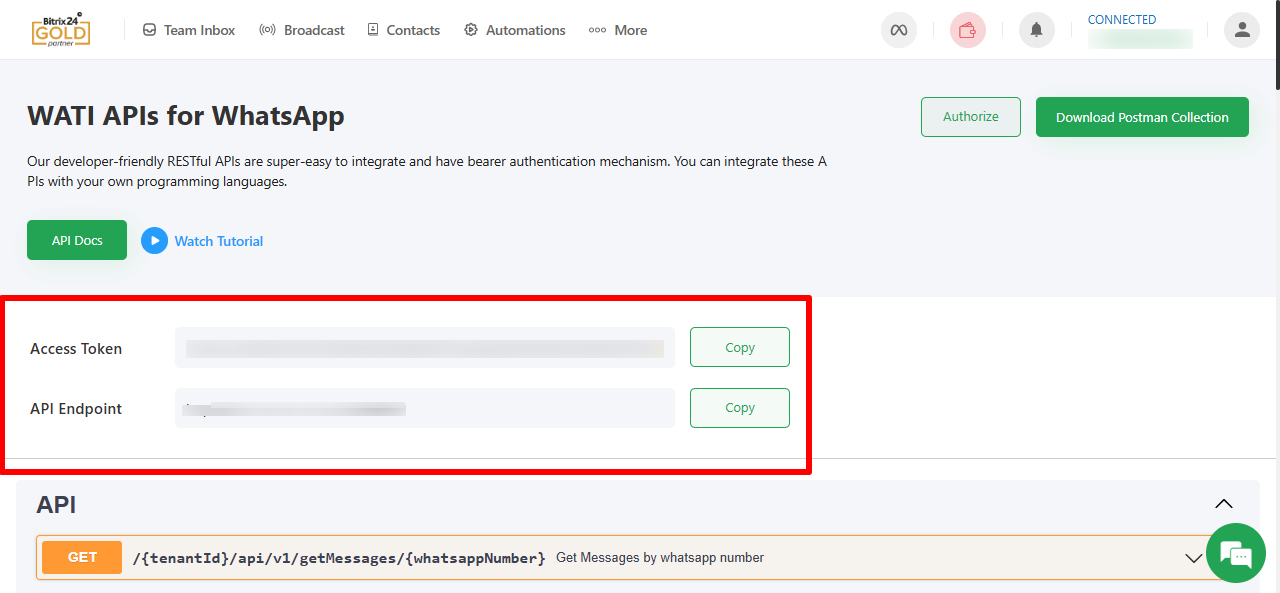
2.Choose More->API Docs. Copy Access Token and API Endpoint URL.

3.Create inbound webhook url in Bitrix CRM with CRM, Messaging service and Chat and Notifications scope.

4.Please paste the Wati API Endpoint, Access Token, Bitrix inbound webhook details in respective fields on the bitrix marketplace app settings tab after the app installation.

5.Synchronize the Wati templates with Bitrix CRM. After installing the app, use the 'Sync Templates' tab on the Marketplace app page. Whenever a new template is added or an existing template is updated in Wati, please use this option.

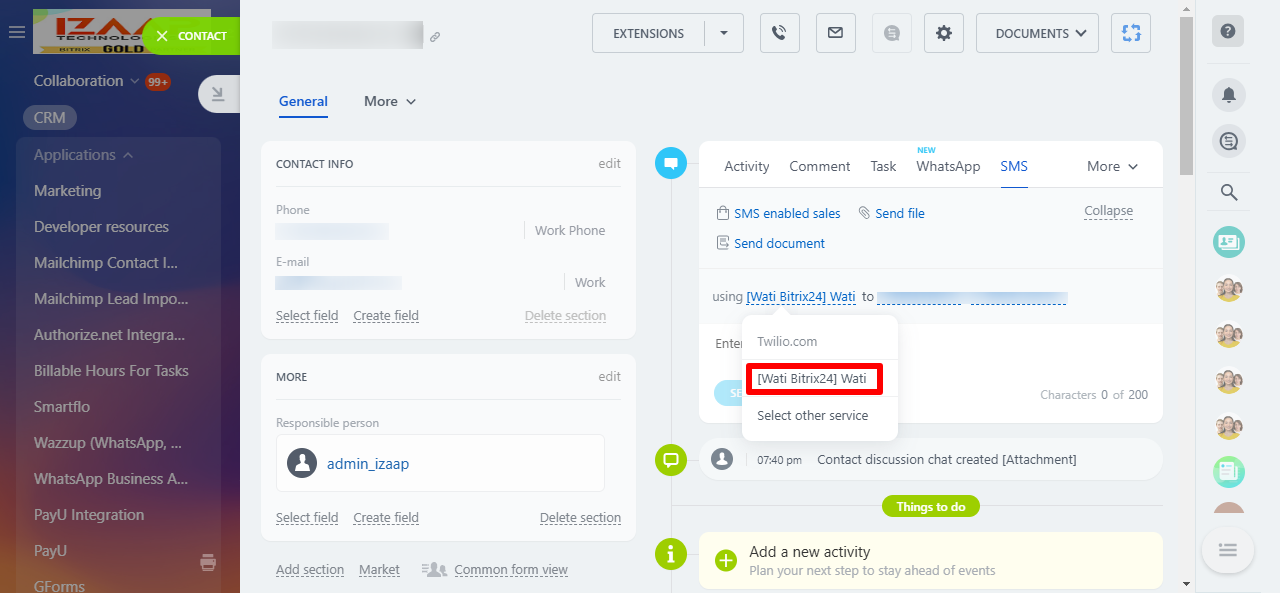
6.In Bitrix CRM, go to CRM → Contacts → Contact Detailed Page. Click on the More option in the timeline section and sel ect SMS (or choose SMS directly fr om the tab). Then, click More and sel ect the Wati option. Enter your message text and click Send. The response will be displayed in the same timeline section.

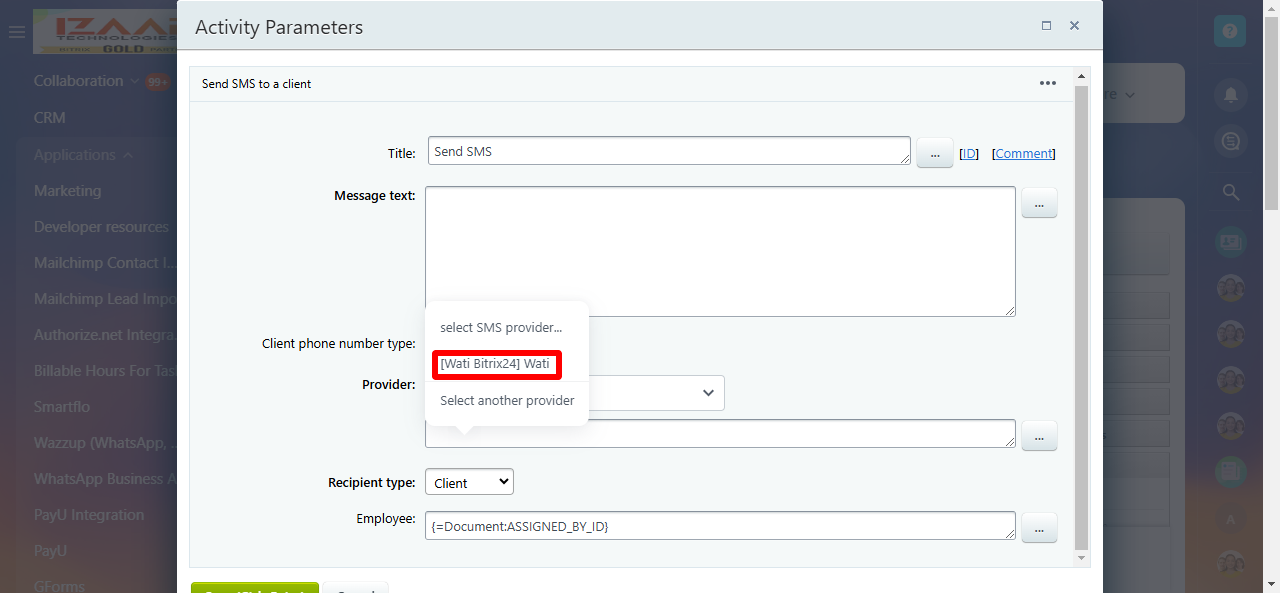
7.In Bitrix CRM, you can also send SMS to customers via the workflow. In the Workflow section, click on CRM → Send SMS. Choose the Wati option fr om the provider type. The response will be displayed in the timeline section of the same CRM entity.

8.If a customer replies to your message or sends a new message, it will appear in the contact/company timeline section. If the contact does not exist in Bitrix CRM, a new contact will be created. The super admin will receive a system notification for each incoming message.
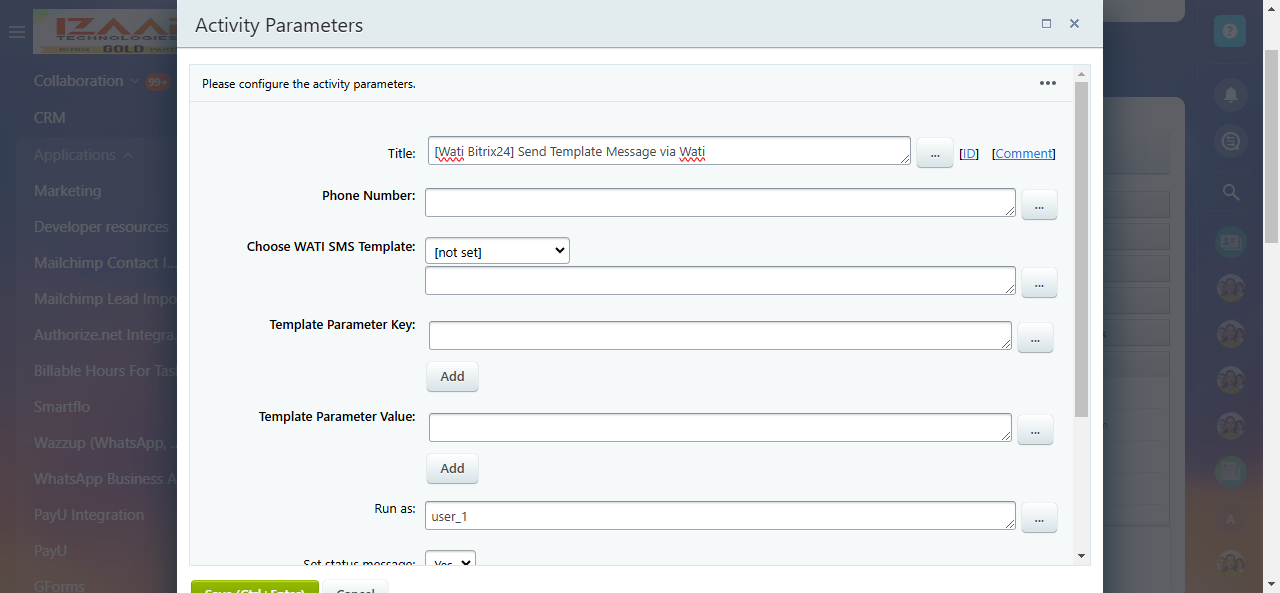
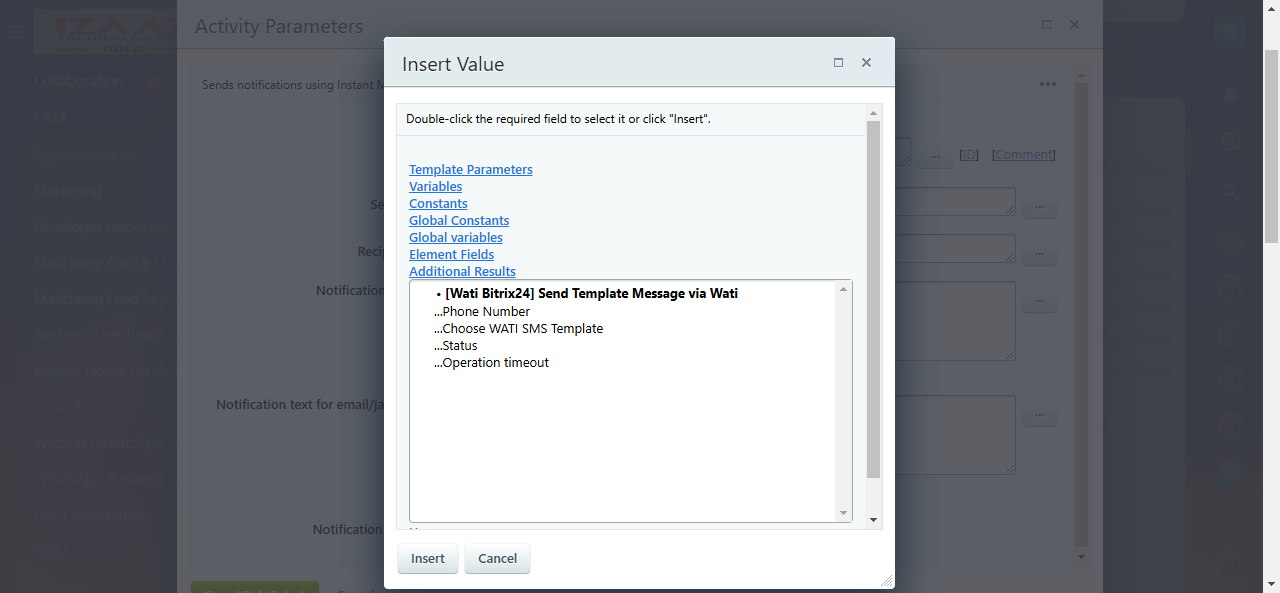
9.In Bitrix CRM, you can send template messages to customers via workflow. In the workflow, choose Application Activities → [Wati API] Send Template Message. Enter the customer’s phone number, sel ect the Wati template, and specify the template parameter key and value, then click Send. After sending the message, you can view the return response in the additional results of the workflow. Please note that in Wati templates, parameter variables are enclosed in curly braces. You should enter these template parameter variables in the template parameter key, while the corresponding values should be specified in the workflow in sequential order, similar to the Wati template. If the template parameter key and value are left empty, the system will use the key and value fr om the Wati template. The workflow return response will contain information about the status, phone number, and Wati template details.

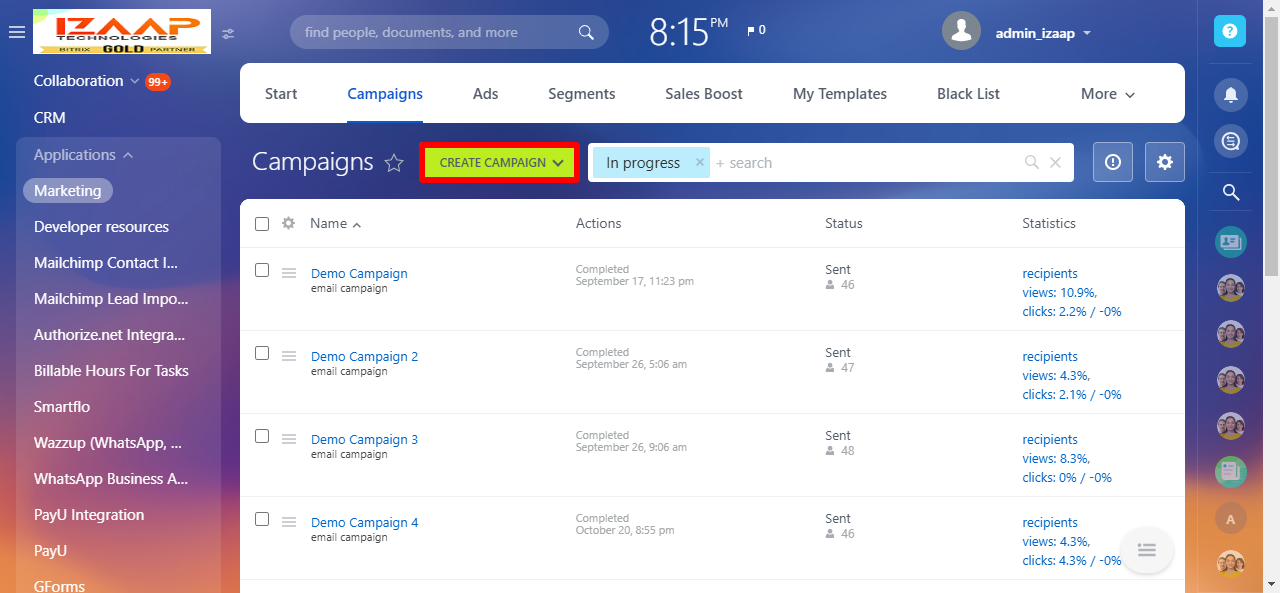
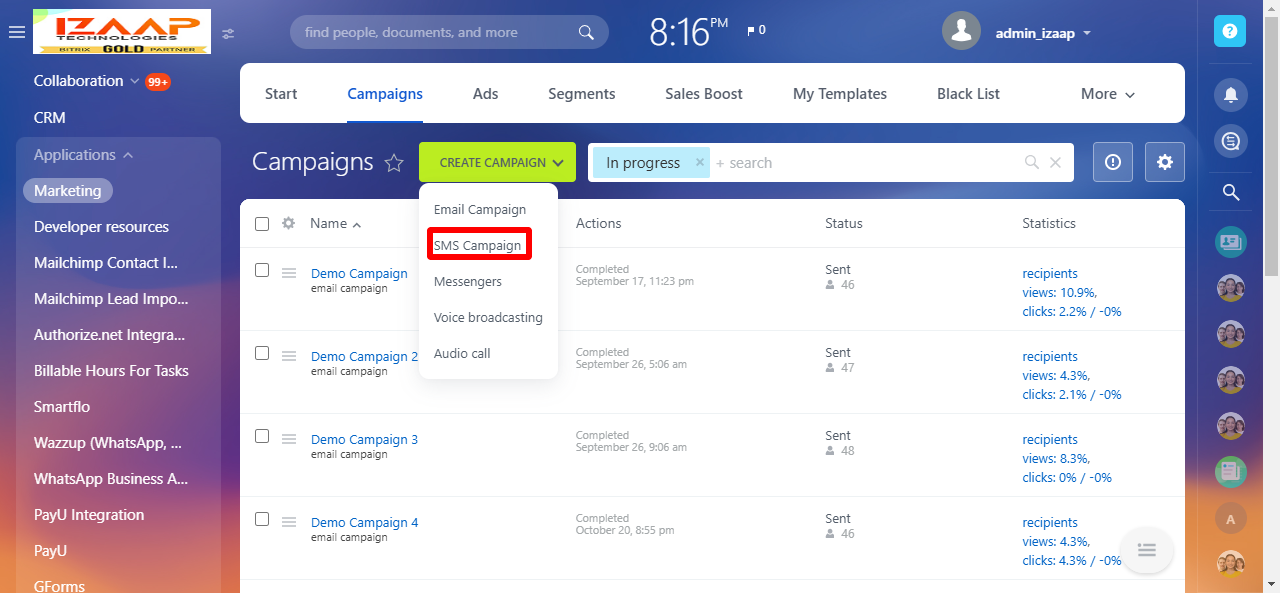
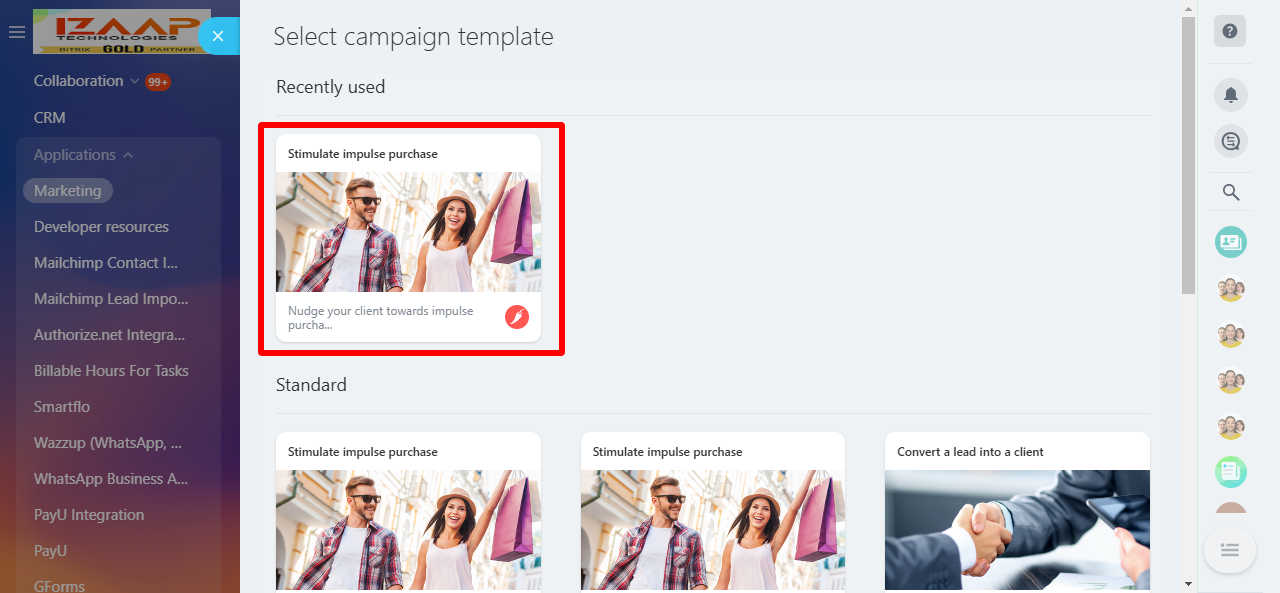
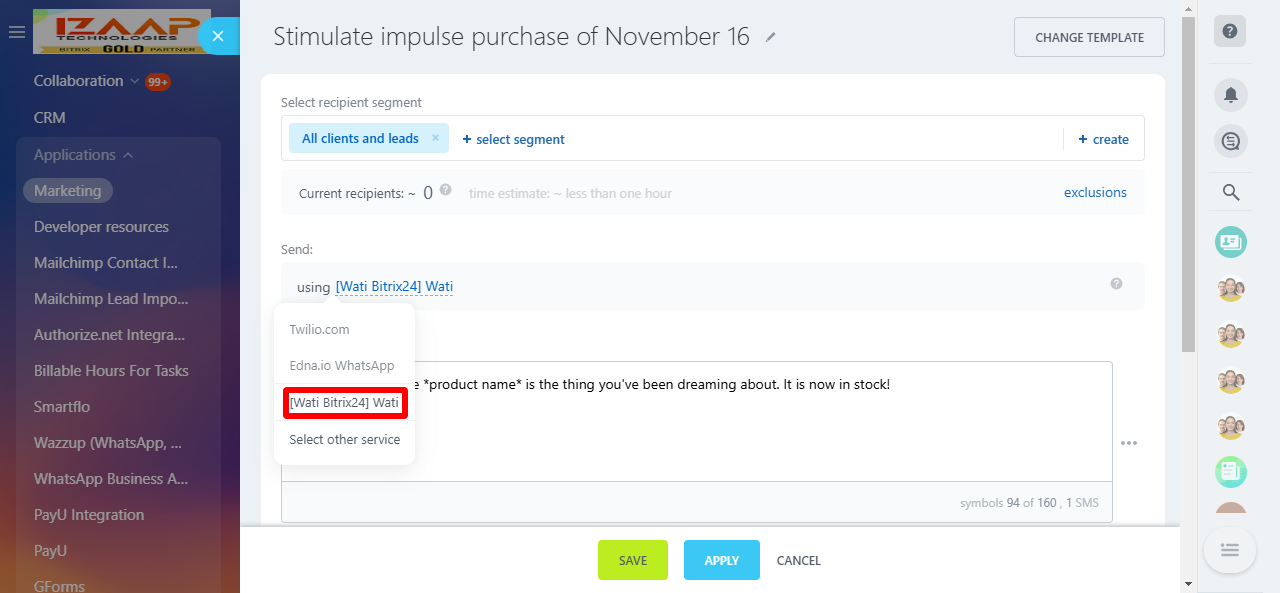
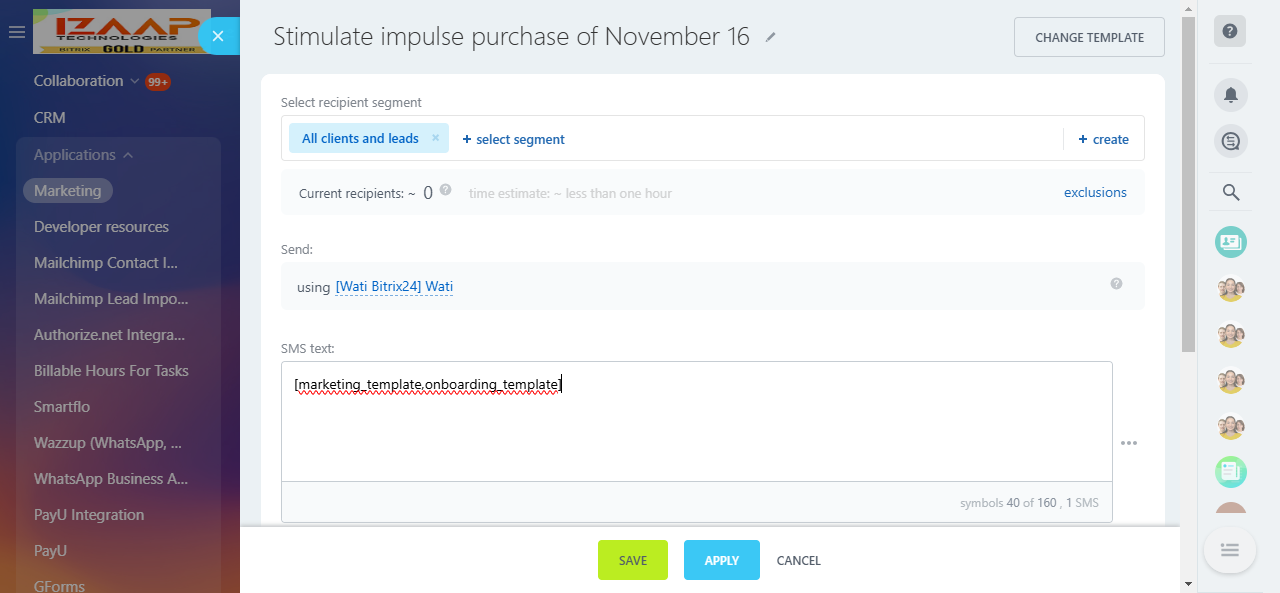
10.To send a bulk SMS campaign to your customers, go to the Marketing menu in Bitrix CRM and sel ect Campaign fr om the top menu. Choose SMS Campaign as the campaign type and sel ect the template. After selecting the template, choose the SMS provider type and create a segment. Specify the template names in the message textbox in the following format: [wati_template,wati_template2]. You can copy the template names fr om the Wati account under the Broadcast section and paste them in the specified format. After saving, you can schedule the campaign's sending date and time. Once the template message is sent to customers, you can track the delivery details on the SMS campaign listing page. For regular messages, please use the message content in the message textbox.

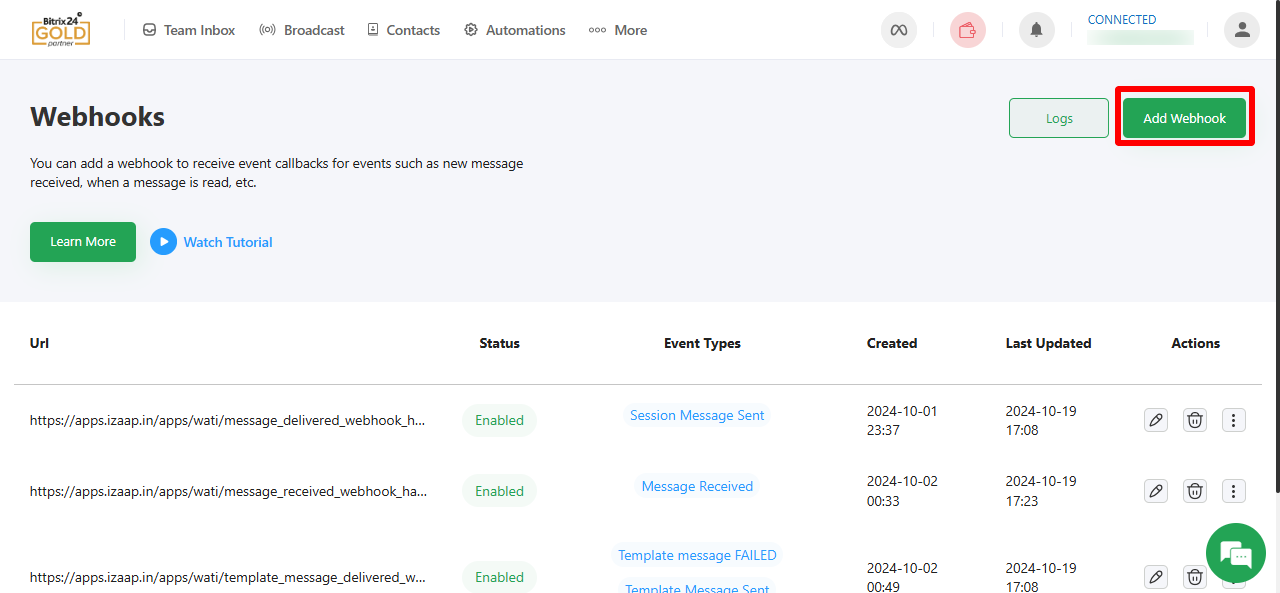
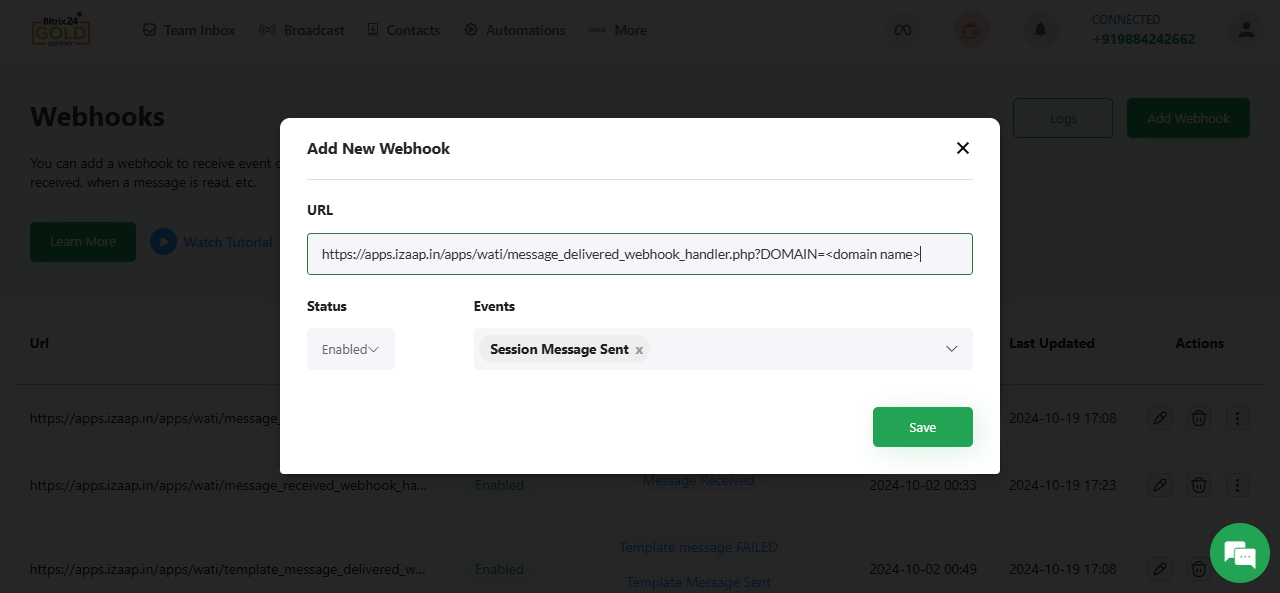
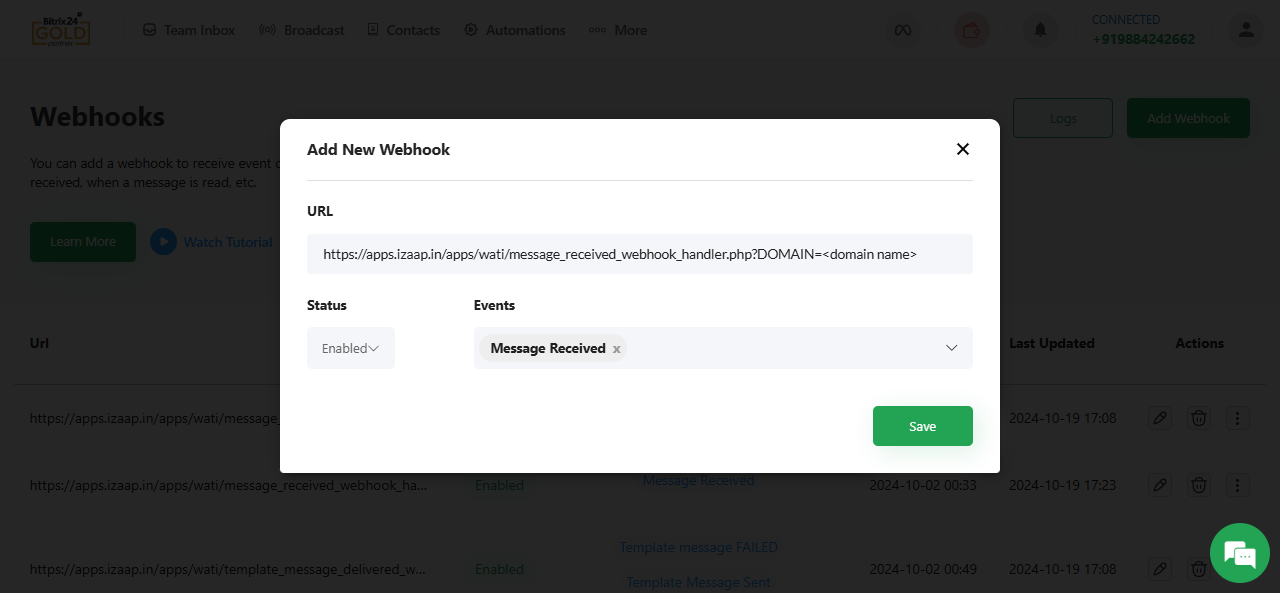
11.To capture incoming messages from customers and sent message statuses, please configure the following webhook URL in the Wati webhook section. In your Wati account, go to More → Webhooks → Add Webhook. Enter the handler URL below, choose the appropriate event type, sel ect the enabled option fr om the dropdown, and then save it.

